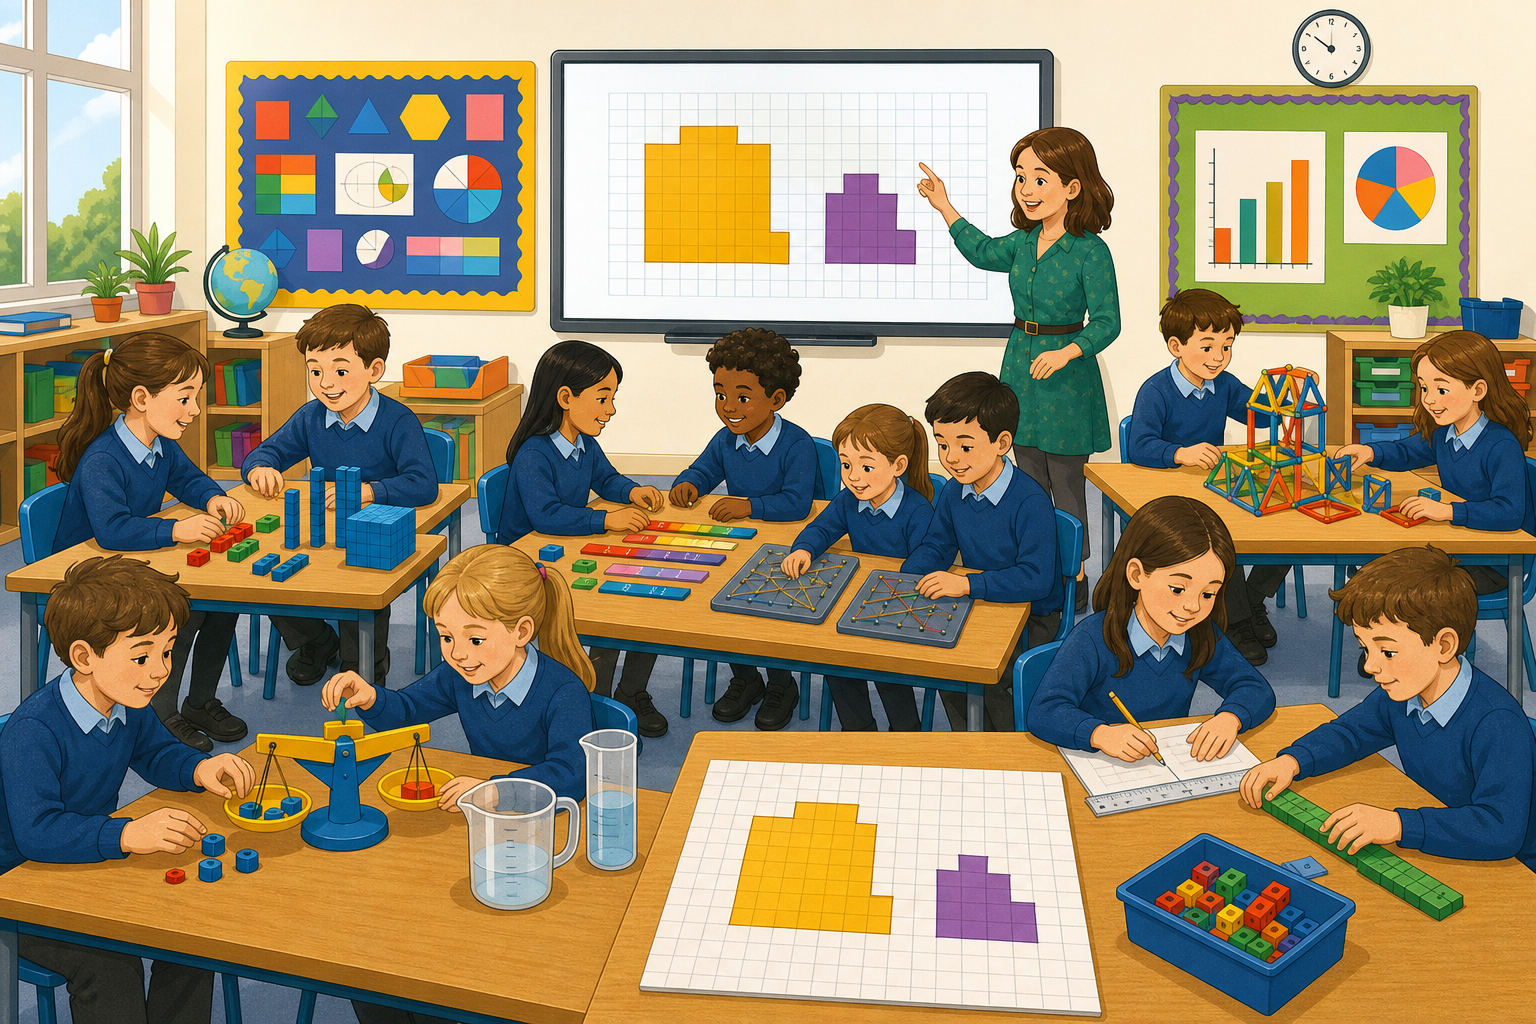
Look at these two shapes on the board. Both are covered with the same little squares, but one fills up more squares than the other.
Which shape covers more space on the page? How could we be sure which one is bigger, without just guessing by looking?
Display the two square-tiled shapes side by side as pupils settle. Take two or three hands-up answers only. Steer the talk towards counting the squares rather than eyeballing the outline, so the lesson's method is already in the room before you model it.
Area is how much flat space a shape covers. We measure it by counting the equal squares inside the shape.
Watch as we count the squares inside this rectangle one by one. We touch each square once and keep a running count. This rectangle has an area of 6 squares.
This shape bends, so it is easy to miss a square or count one twice. We count slowly and carefully so every square is counted exactly once. This L-shape has an area of 5 squares.
Walk each example aloud, one at a time.
Stress throughout that every square must be the same size, or the count is not fair.
Let's count the squares inside this shape together. As we shade each square, we'll say the running count out loud, making sure no square is missed and none is counted twice.
This round is for talking it through together — bring a pupil to the board to shade and count each square while the class keeps the running count aloud.
The widget shows one rectangle (4 squares across, 2 down). Use it as the shared canvas: as the pupil shades each square, the rest of the class says the number with them. Watch for pupils who jump ahead of the count or skip a square at a corner. Keep the watching class with you by turning and naming the next counter, or by revoicing a careful counter: so you shaded it before you said the number — that is how we know we have not missed any.
In your squared copy, draw any shape you like that covers exactly 7 squares. It can be a rectangle, an L-shape, or any shape you choose, as long as it covers 7 whole squares.
Keep all the edges of your shape along the grid lines, so every square inside is a whole square. Then shade each square and count them to prove your shape really does cover 7.
Walk the room glancing at the shaded counts — this is whole-class copybook practice, not marking. Watch for shapes that use part-squares (the edge must follow the grid lines) and for counts that miss a square at a bend. No individual correction needed unless a pupil is clearly stuck.
Now let's cover some printed outlines with identical square tiles and count the tiles to find each area. In your groups, work through these tasks:
Before you start, look at the two outlines on the board. They are different shapes, but watch — they both take the same number of tiles. That is the big idea today: area is about how many squares cover a shape, not what the outline looks like.
This round is the practice bank — pupils work in groups of four at their desks with a set of tiles each. Circulate, check each group's counts, and confirm before they move on. Keep the room brisk rather than over-explaining.
Begin with a short whole-class reveal at the board: hold up (or outline) two different shapes that both take, say, 6 tiles, and count them together so the core class meets the same-area-different-shape idea before they work. Then let the groups work at their desks. The make-or-break task is the L-shape — pupils who count the bend twice get one too many. Use the callout are all your squares the same size, and have you counted each one once? The same-area-different-shape task on their sheet is the high-ceiling stretch, but every group has now seen the idea modelled.
Why must all the squares we count be exactly the same size? What would go wrong if some squares were big and some were small?
Listen for pupils naming the unfairness of mixing sizes — if some squares are bigger, two shapes with the same count could cover very different amounts of space. Revoice a strong answer: so the count only tells us the area if every square is the same size — that is what makes it a fair measure.
Next we will find the area of rectangles a faster way, by counting the squares in one row and then counting the rows, which gives us our first link from area to multiplication.
Keep this brisk. Recap the four points, then point forward to counting rows and columns. No new content here.
You're previewing this lesson. Get full access to this lesson and hundreds more — each one ready to teach, with interactive activities, printable resources and pupil progress tracking built in.