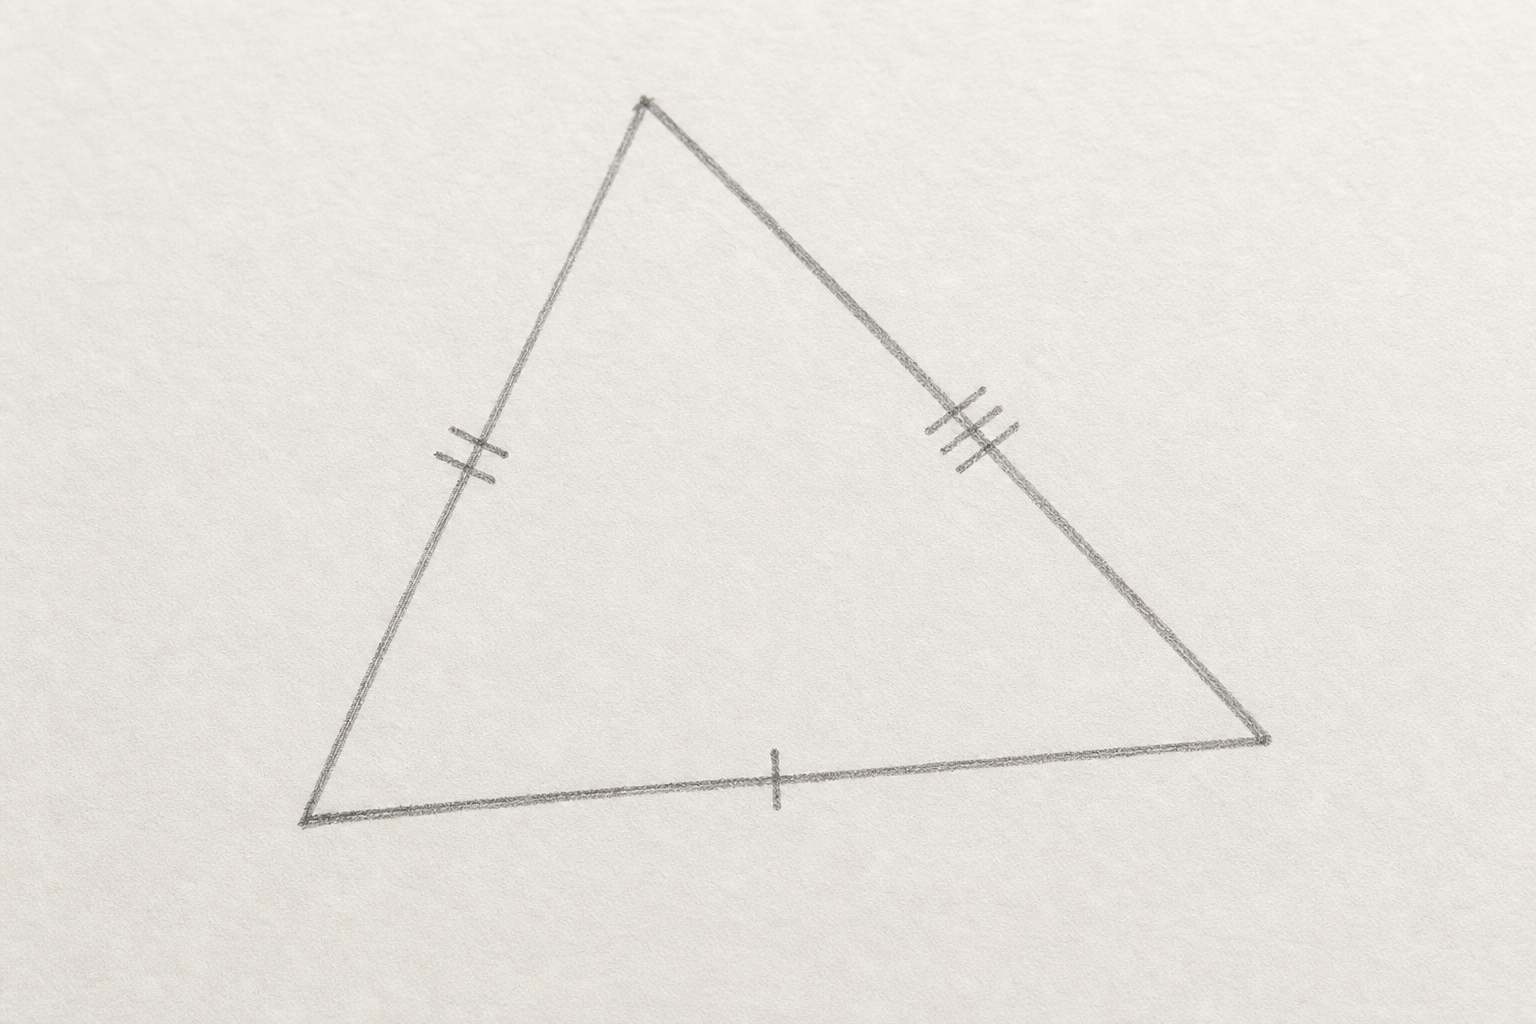
Here is a triangle sketched with three side lengths marked on it: 6 cm along the bottom, 4 cm up one side and 5 cm up the other. If two of you were each handed those same three lengths and told to build the triangle, would you both end up with the exact same shape, or could you build different-looking triangles? Hands up: what is your gut feeling?
Take three hands-up answers, not open call-outs. Don't resolve it yet — the whole lesson settles this. Hold the suspense: let's see by the end whether you were right.
Watch as we build a triangle from three given sides here on the board. The board's circle tool does exactly what your compass does — it draws an arc by swinging at a set distance. First we draw the 6 cm base. Then we open the compass to 5 cm and swing an arc from the left end of the base, and open it to 4 cm and swing an arc from the right end. Look where the two arcs cross: that crossing point is the third corner. Join it to both ends of the base and the triangle closes.
This is an SSS triangle (Side-Side-Side: one where all three side lengths are given). Notice there is only one place the arcs cross above the base. That single crossing point is what fixes the shape.
Here both arcs have the same radius, 5 cm, so they cross right in the middle above the base. Every side is the same.
A different set of sides, the same three steps: draw the base, swing both arcs, join the crossing point.
Now watch what happens with a 9 cm base and two short arcs of only 2 cm and 2 cm. The arcs swing out from each end but they never reach far enough to cross, so the triangle never closes. The rule is this: the two shorter sides added together must be longer than the longest side, or the arcs never meet. Here 2 + 2 is far short of 9, so there is no triangle at all.
Walk each example aloud, one at a time. Name the three moves every time: base, swing both arcs, join the crossing point.
STE bridge: this is the same set-and-swing skill used in technical drawing and in marking out a frame in woodwork.
Today we build triangles from three given sides together on the board. We will work through three sets in turn: first 5 cm, 4 cm and 3 cm; then 6 cm, 6 cm and 4 cm; then 5 cm, 5 cm and 5 cm. Each time a pupil swings the two compass arcs from each end of the base and joins where they cross, and we check together that the triangle closes from exactly those three sides.
This round is for talking it through together — pupils take turns at the board and the class agrees or corrects out loud.
Run the circle tool in construction mode. Work through the three sets shown on screen (5, 4, 3; then 6, 6, 4; then 5, 5, 5): set the base, then let a pupil swing each arc and join the crossing point. Ask the class each time: did the arcs cross? where? does the triangle close? Rotate three or four pupils across the sets. Watch for the slip of setting the compass to the wrong length before swinging.
In your maths copy, construct the SSS triangle with sides 6 cm, 5 cm and 4 cm using your own ruler and compass. Draw the 6 cm base first, then swing an arc of 5 cm from one end and an arc of 4 cm from the other, and join where they cross. Label each side with its length. Take your time — a steady, smooth arc beats a fast one.
Give pupils enough time to finish one full construction without rushing — for many this is their first hands-on compass triangle. Walk the room glancing at compass technique — point planted firmly, arc swung in one smooth move. This is whole-class copybook practice, not marking. Catch the common slip of the compass slipping wider mid-swing. Pupils who find the base line tricky can use the compass_construction_sheet with the base already drawn, so they focus on the arcs only.
Today we'll build these together, one at a time. First a triangle with three sides of 4 cm. Then one with sides 5 cm, 4 cm and 3 cm. Then sides 7 cm, 6 cm and 5 cm. And for a real challenge to finish, an equilateral triangle of side 5 cm using compass arcs only. We'll check each one as it closes.
Three equal sides. Set the base at 4 cm, then both arcs at 4 cm — watch where they cross.
A 5 cm base, then arcs of 4 cm and 3 cm from each end. Join the crossing point.
Larger numbers, same three steps: base, swing both arcs, join.
Our real challenge to finish: all three sides 5 cm, built with compass arcs only. What is special about the two arc radii here?
This round is the practice bank — pupils take turns at the board, check each construction, and the class confirms before moving on. Keep the board work brisk rather than over-explaining.
Work through the four constructions in order, each a step harder. For each, a pupil sets the base, swings both arcs and joins the crossing point; the class checks the sides match before pressing on. Save the equilateral as the closing challenge and ask: what is special about the two arc radii here?
Earlier on the board we saw sides of 2 cm, 2 cm and 9 cm. One pupil says those will make a long thin triangle. Another says it can never make a triangle at all. Who is right, and what did the compass arcs show us?
Listen for pupils reasoning that the two short arcs (2 cm and 2 cm) can never reach far enough to cross when the base is 9 cm — point back to the on-screen non-example from Watch and Notice where the arcs fell short. Revoice: so the two shorter sides have to add up to more than the longest side, or the arcs never meet. Connect back to the Getting Started question — the right three sides fix one unique triangle, but the wrong three sides fix none.
Next we pick up the protractor and learn to measure angles accurately, the skill we will need to construct triangles from sides and angles together.
Keep this brisk. Recap the three construction steps once more and flag that the protractor is the next tool to master.
You're previewing this lesson. Get full access to this lesson and hundreds more — each one ready to teach, with interactive activities, printable resources and pupil progress tracking built in.