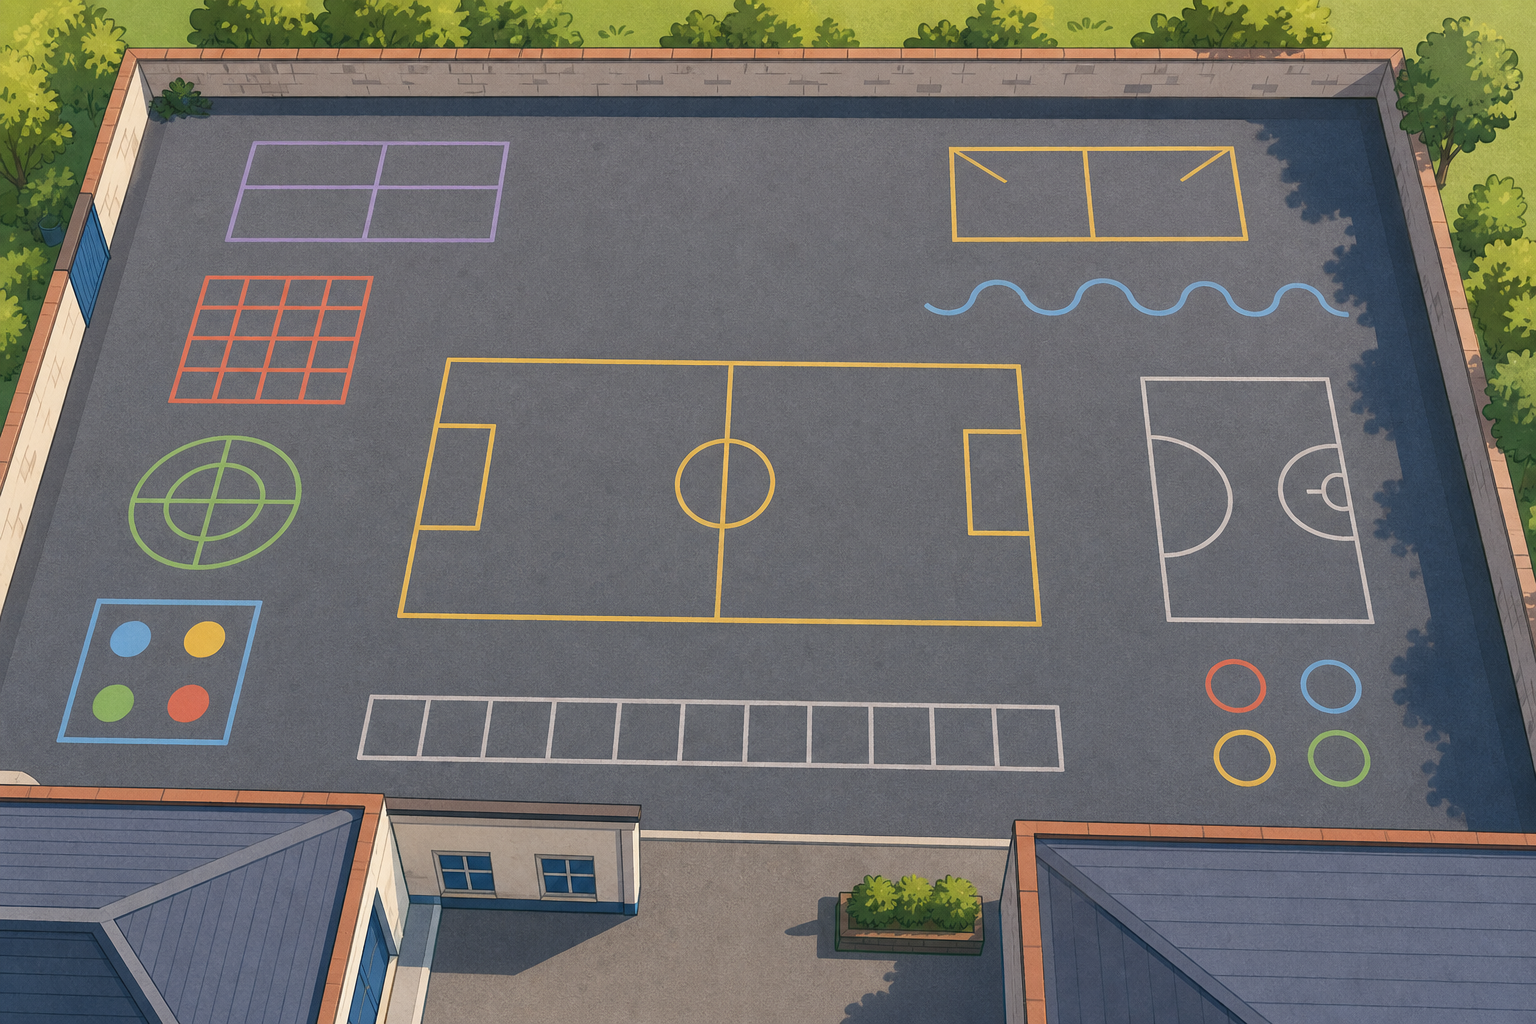
Picture the school yard from above. The caretaker wants to put a new fence all the way around the edge of it. Before any fencing can be ordered, somebody has to work out how much fence is needed.
How would you figure out exactly how far it is all the way around the yard?
Take two or three hands-up answers, not open call-outs. Listen for the idea of adding up the sides rather than counting squares inside.
You don't need a yard diagram drawn yet, the labelled shapes are built in the next step.
The real yard would be measured in metres, but the diagrams on the board use centimetres so the shapes stay small and easy to read. The thinking is exactly the same either way.
Watch as we measure all four sides and add them. Two sides are 4.5 cm and two sides are 2.5 cm. Notice that opposite sides match, so we could double instead of writing every side out.
This shape has five equal sides, each 3.2 cm. When every side is the same, adding the same number five times is the same as multiplying by 5.
Look at this L-shape. Most sides are labelled, but the top edge has no number on it. Here is how we find it: the top edge stretches the whole way across, so it must equal the two shorter sections along the bottom added together. If the bottom is made of a 5 cm piece and a 3 cm piece, the top must be 5 + 3 = 8 cm. Once we know that hidden side, we can add every side once around the shape for the perimeter.
Walk each example aloud, one at a time, using the labelled shapes on screen.
These are static labelled diagrams to point at, not widgets to drag.
Let's measure each side of this irregular shape on the board together, then add them all up to find the perimeter. The side lengths are shown on the labelled shape, so we read each one straight off the picture. First, count how many sides the shape has so we know how many numbers to expect, then we'll go round one side at a time, saying each length out loud before we add it on.
This round is for talking it through together — pupils take turns at the board and the class agrees or corrects out loud.
Have an individual pupil read or highlight each side in turn while the shape stays fixed, then the class calls the running total as you add each side. Count the sides first so everyone knows how many numbers to expect, and watch for pupils who stop adding before they reach the last side.
Revoice a strong answer: so once we have added every side once, that total is the whole way around.
In your maths copy, sketch each shape from the lesson, label every side with its length, and write the perimeter sum underneath each one. If you used a multiply shortcut for any repeated sides, circle it.
Walk the room glancing for labelled sides and a clear perimeter sum under each shape — this is whole-class copybook practice, not marking.
Look for pupils circling the multiply shortcut (e.g. 3.2 × 5) rather than writing the same number out five times.
Today we work through these perimeter problems together, getting trickier as we go:
Work out the perimeter of each shape, then solve the reverse square puzzle.
Ways to start:
Stretch:
This round is the practice bank — pupils take turns at the board, check each answer, and the class confirms before moving on. Keep the board work brisk rather than over-explaining.
On the hexagon, push for 4 × 6 = 24 cm rather than adding six 4s. On the missing-side problem, make pupils name how they found the missing length before they add. The square stretch reverses the thinking: 24 ÷ 4 = 6 cm — ask which operation undoes adding the four equal sides?
When can we multiply instead of adding all the way round a shape? And when does that shortcut stop working?
Listen for pupils naming the condition: the multiply shortcut works when sides are the same length, like in a regular shape. Revoice: so once the sides are all equal, multiplying the side by the number of sides is the same as adding them all.
Head off the over-generalisation that you can always multiply — on an irregular shape the sides differ, so you must add each one.
The L-shape we worked on is an irregular polygon, and it is also a compound shape, two rectangles joined together. You will meet that word, compound, in the next lesson.
Next we move from the distance around a shape to the surface inside it: finding the area of rectangles and compound shapes.
Keep this brief. The perimeter–area distinction set up here is the bridge into the next lesson, and naming the L-shape as a compound shape now links the two terms pupils meet across the two lessons.
You're previewing this lesson. Get full access to this lesson and hundreds more — each one ready to teach, with interactive activities, printable resources and pupil progress tracking built in.